Converting your Mopar 6v positive ground electrical system to 12v negative ground.
Original 6 volt positive ground generator.
It works, for values of work. But plans include AC so I need to convert to a more modern electrical system.
I had not planned to do this right now as I wanted to get my vehicle registered so I could drive it. But, alas, the turn signals didn't and some prior hack really screwed up the after market, generic wiring harness install. So, out comes the hack work and I will installed a fresh new one. Step one of the conversion is to remove the old generator and place a new alternator in.
Being a Mopar guy I am going with as much Mopar as I can. In this case the alternator and regulator is sourced from an 87 Dodge Diplomat.
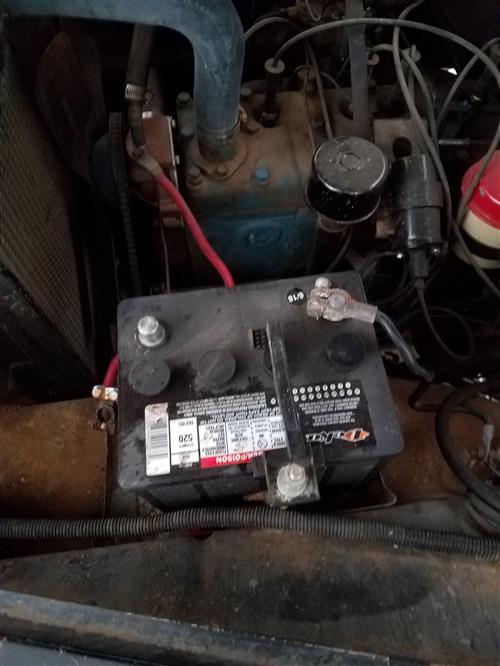
Safety first, pull the battery and put it somewhere you won't trip over it.
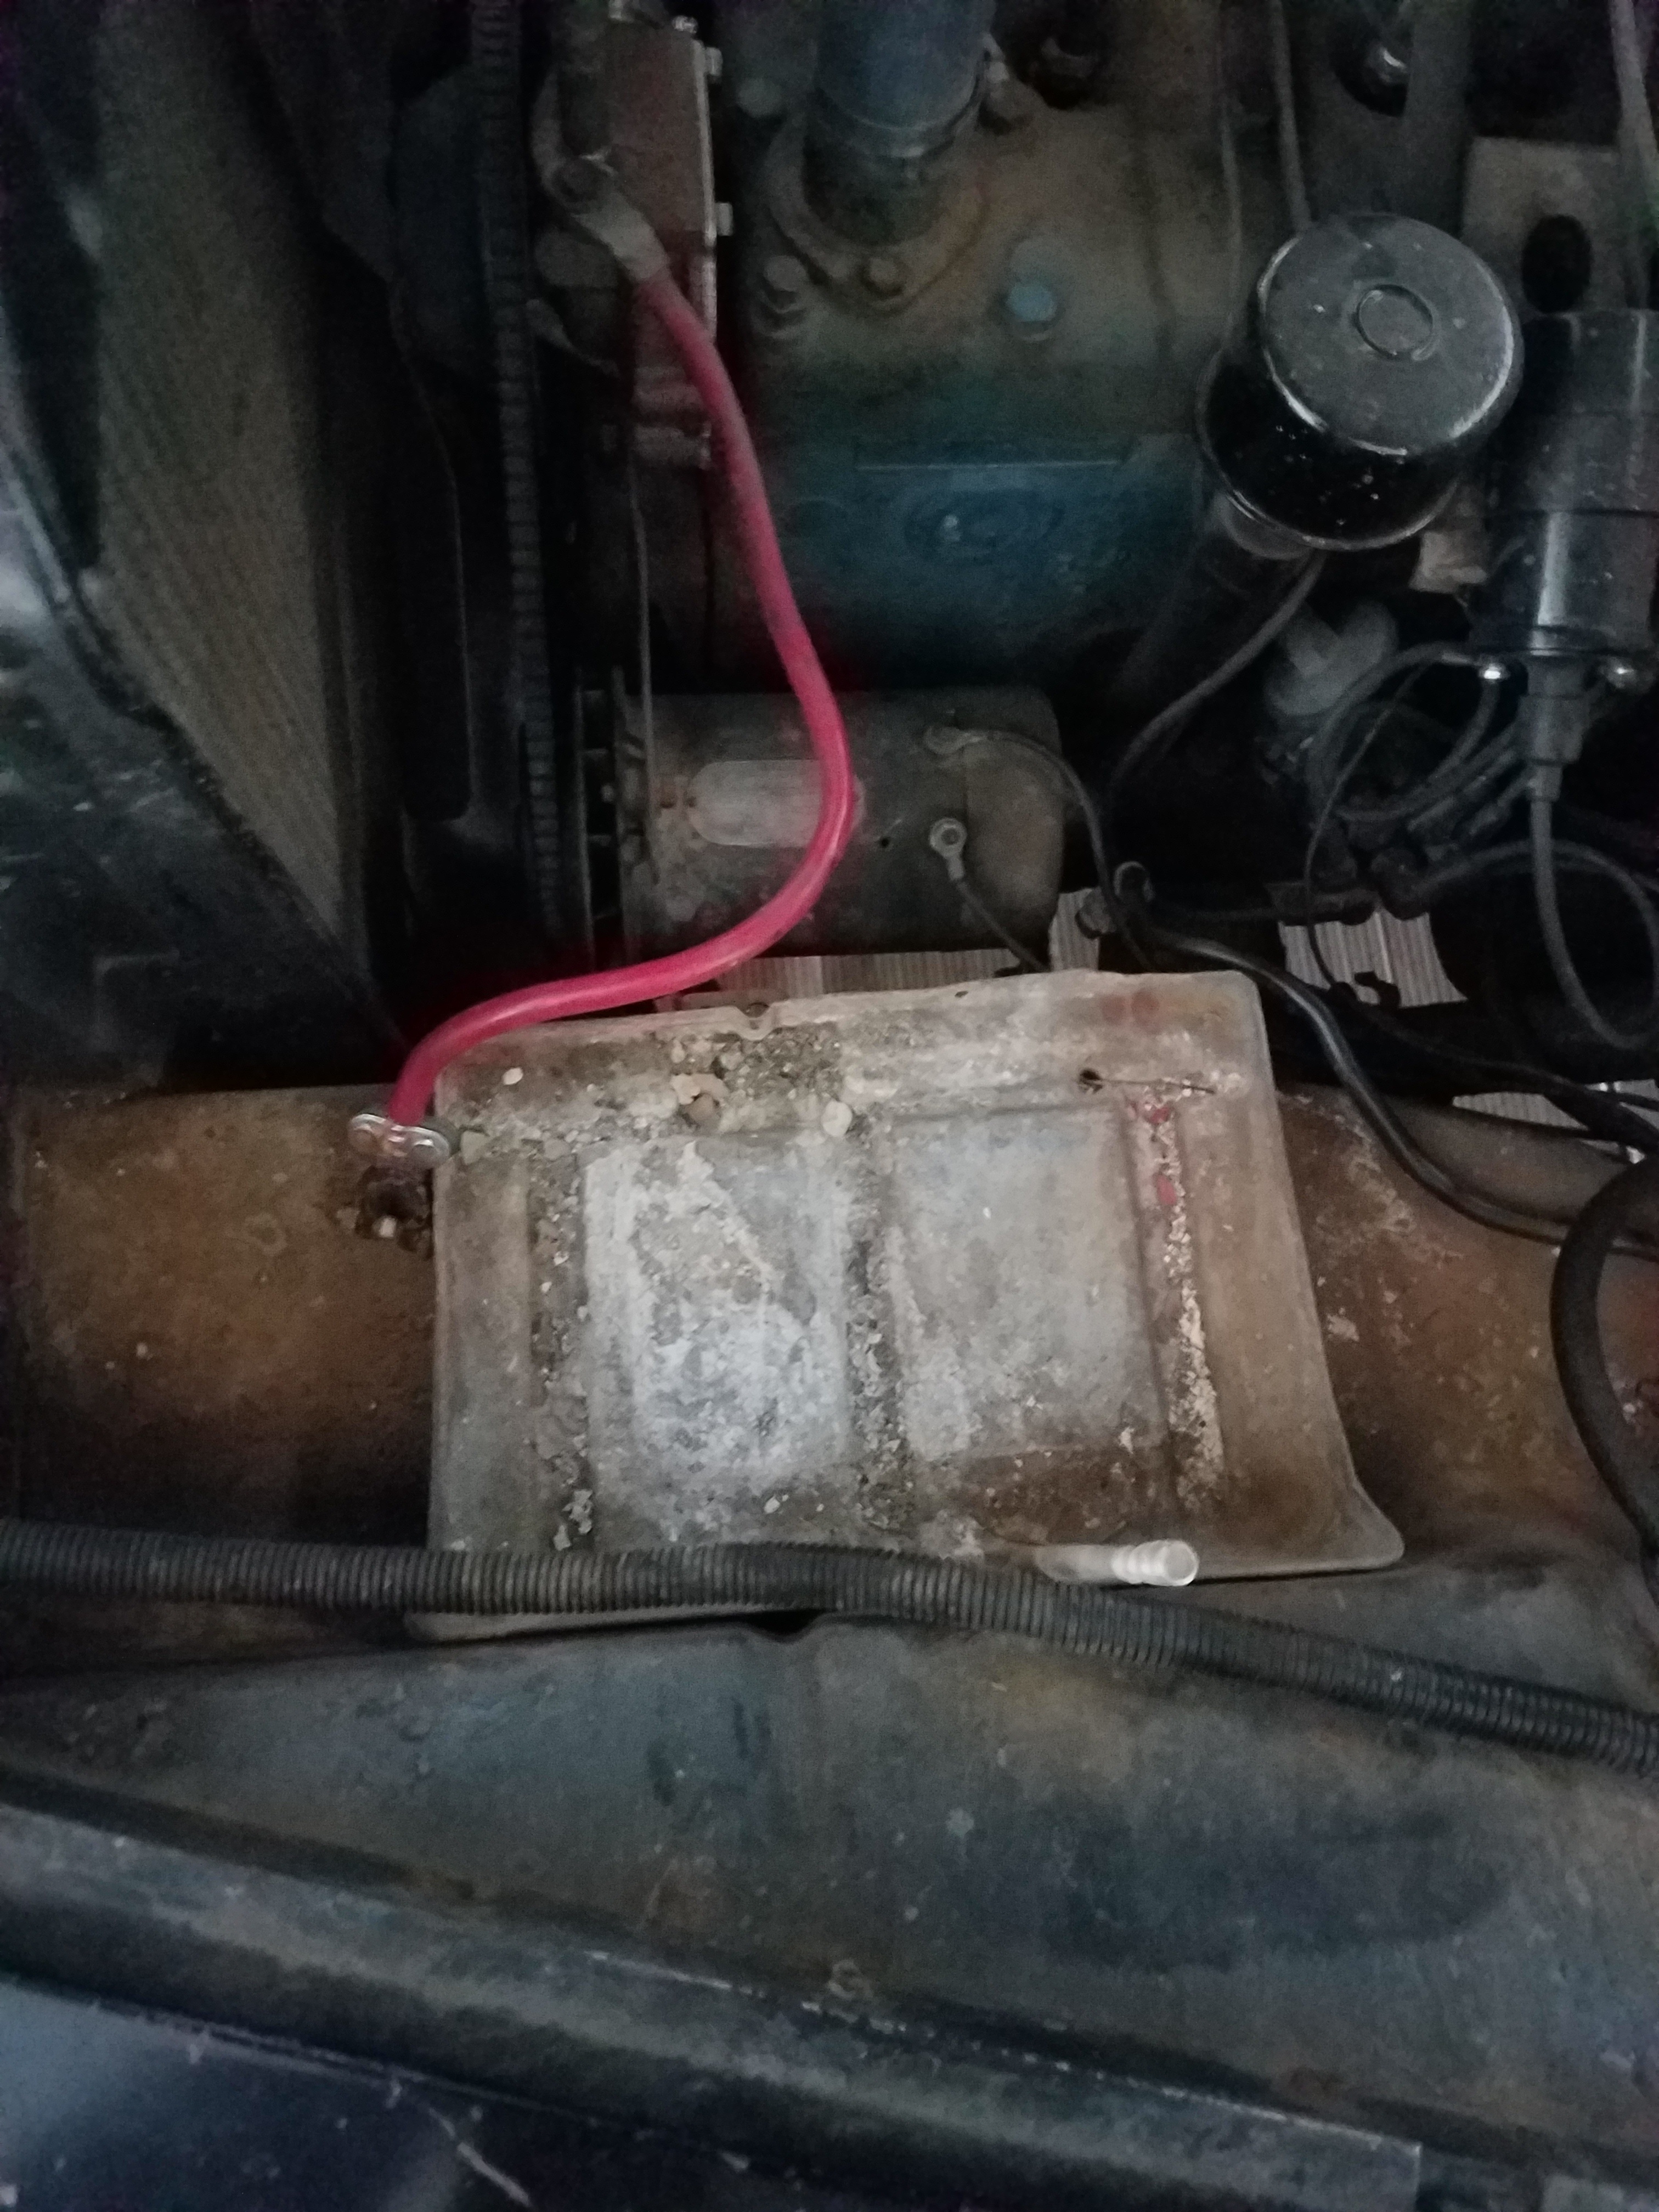
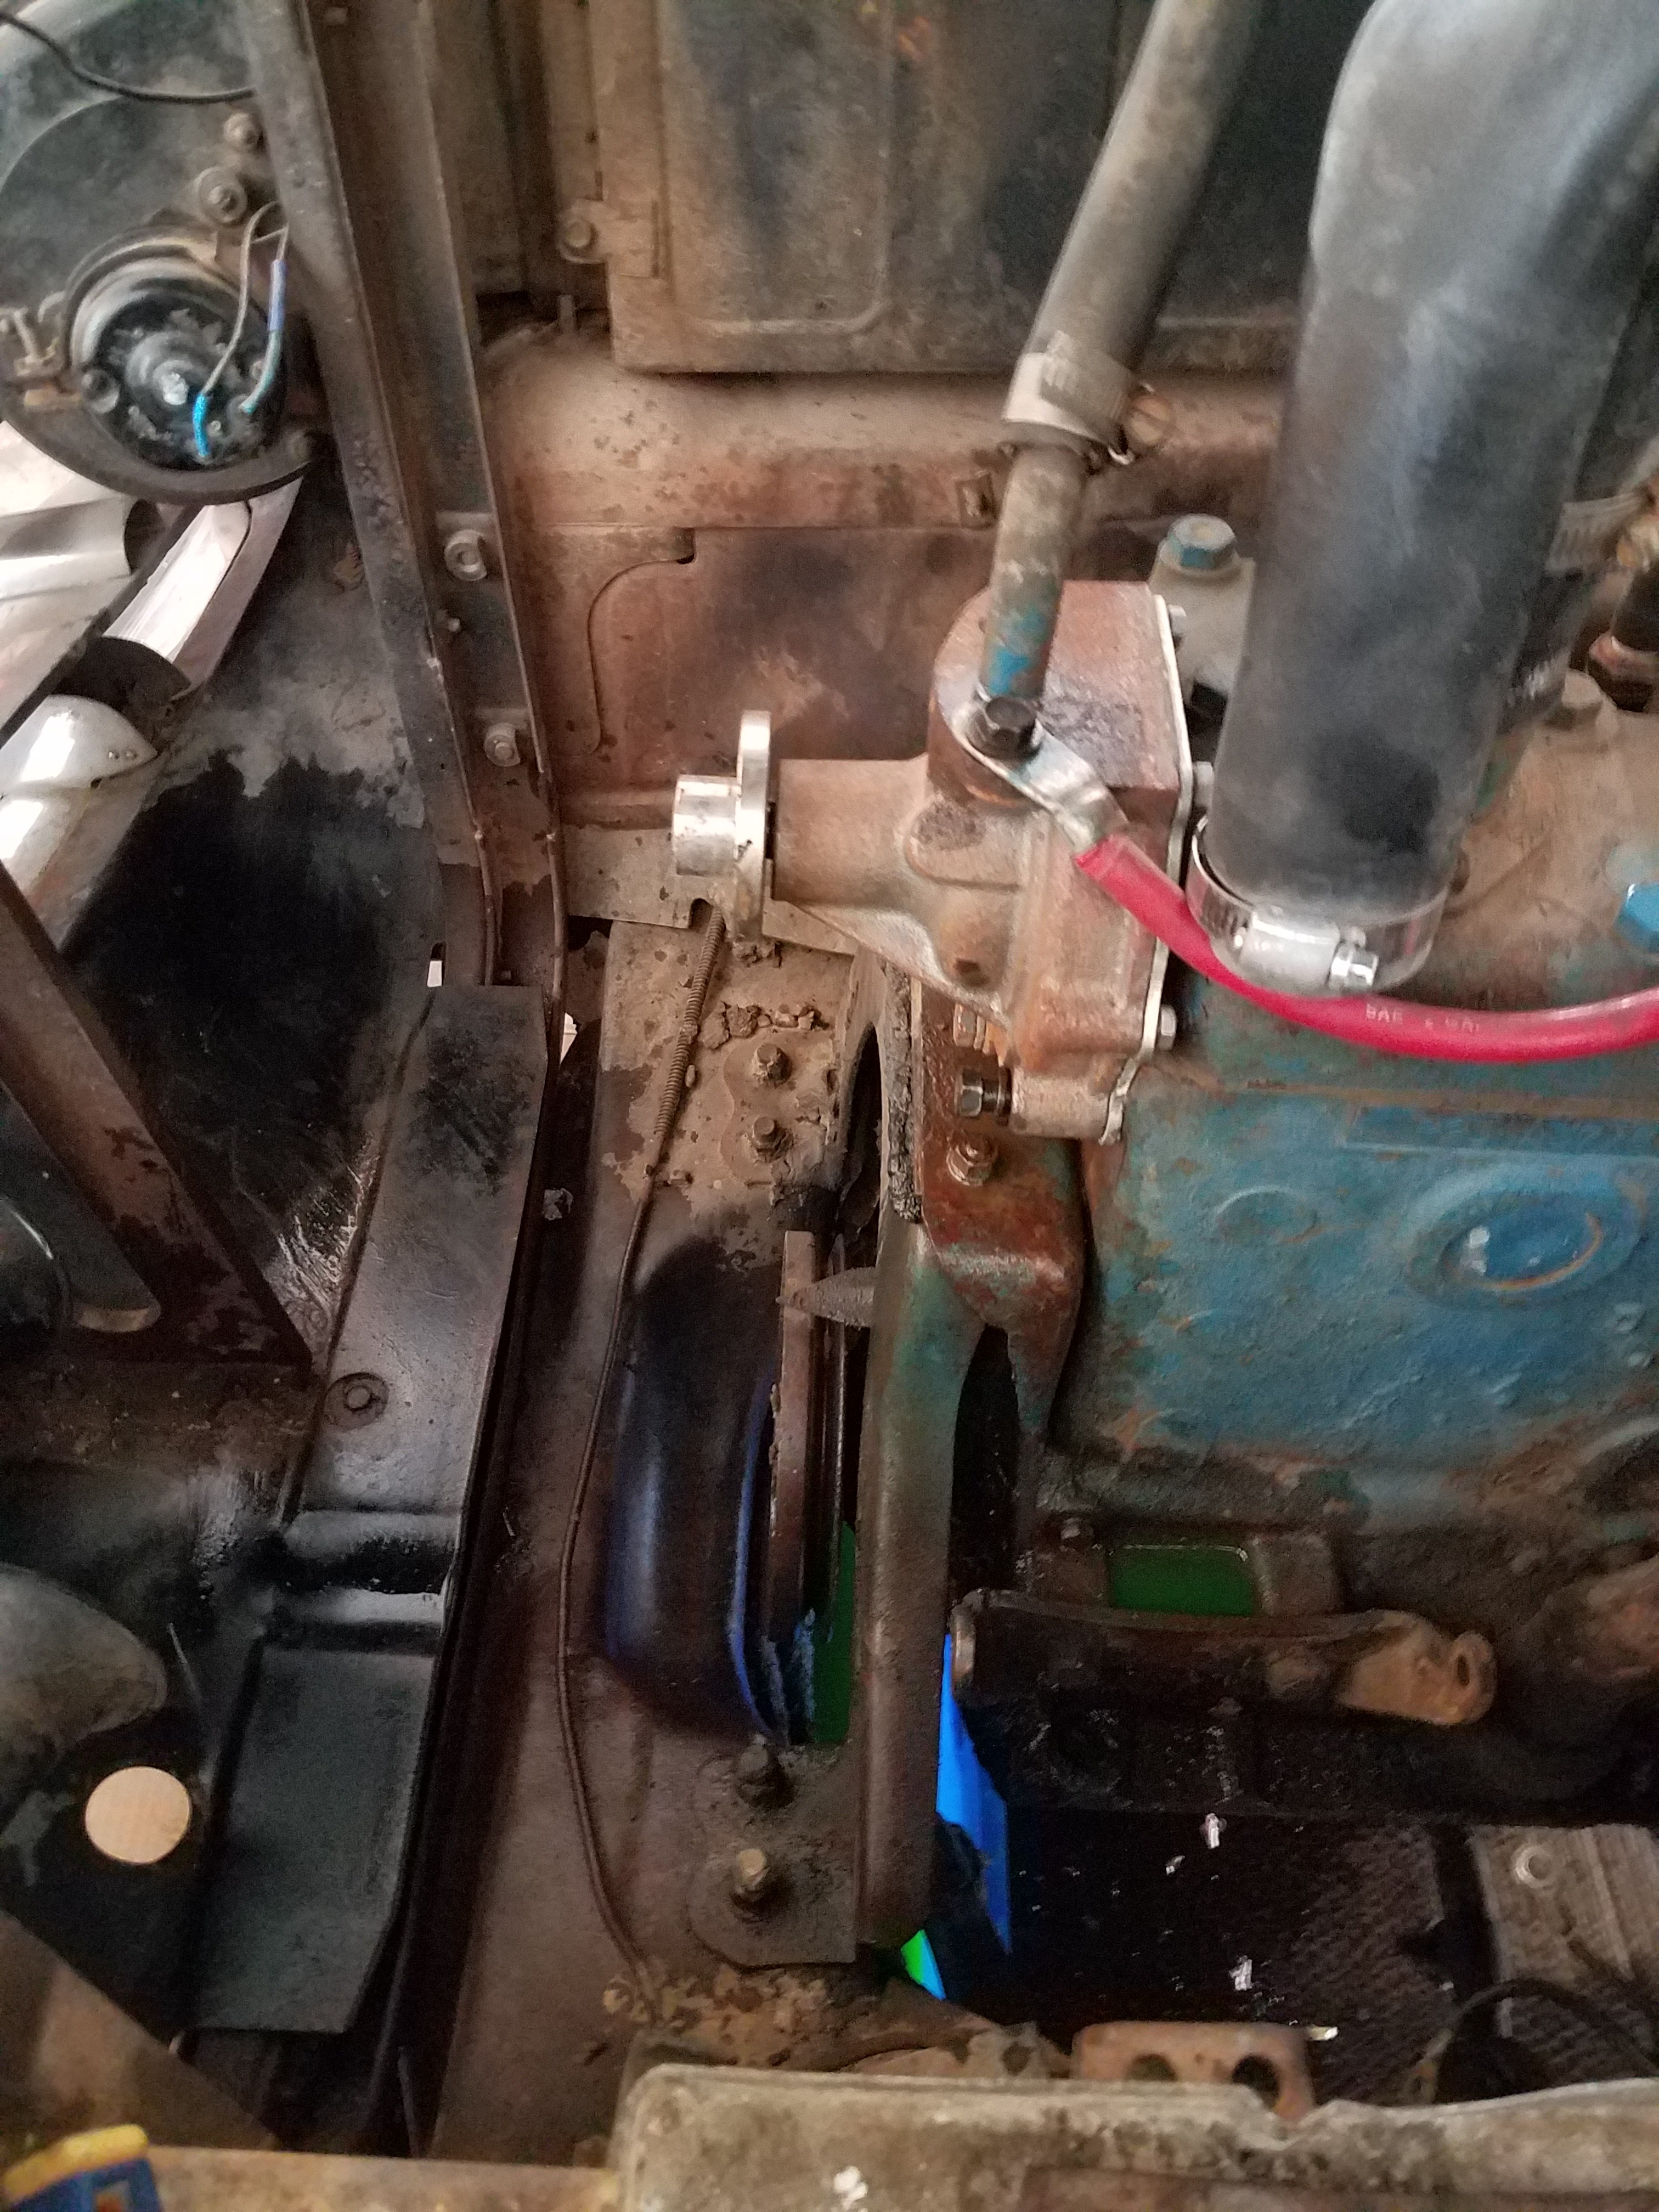
Note the red battery cable bolted to the water pump housing. That is the ground on a positive ground system. Also note the bolt on battery clamp, not good. All the battery cables will be replaced with new and correct color for negative ground system cabling.
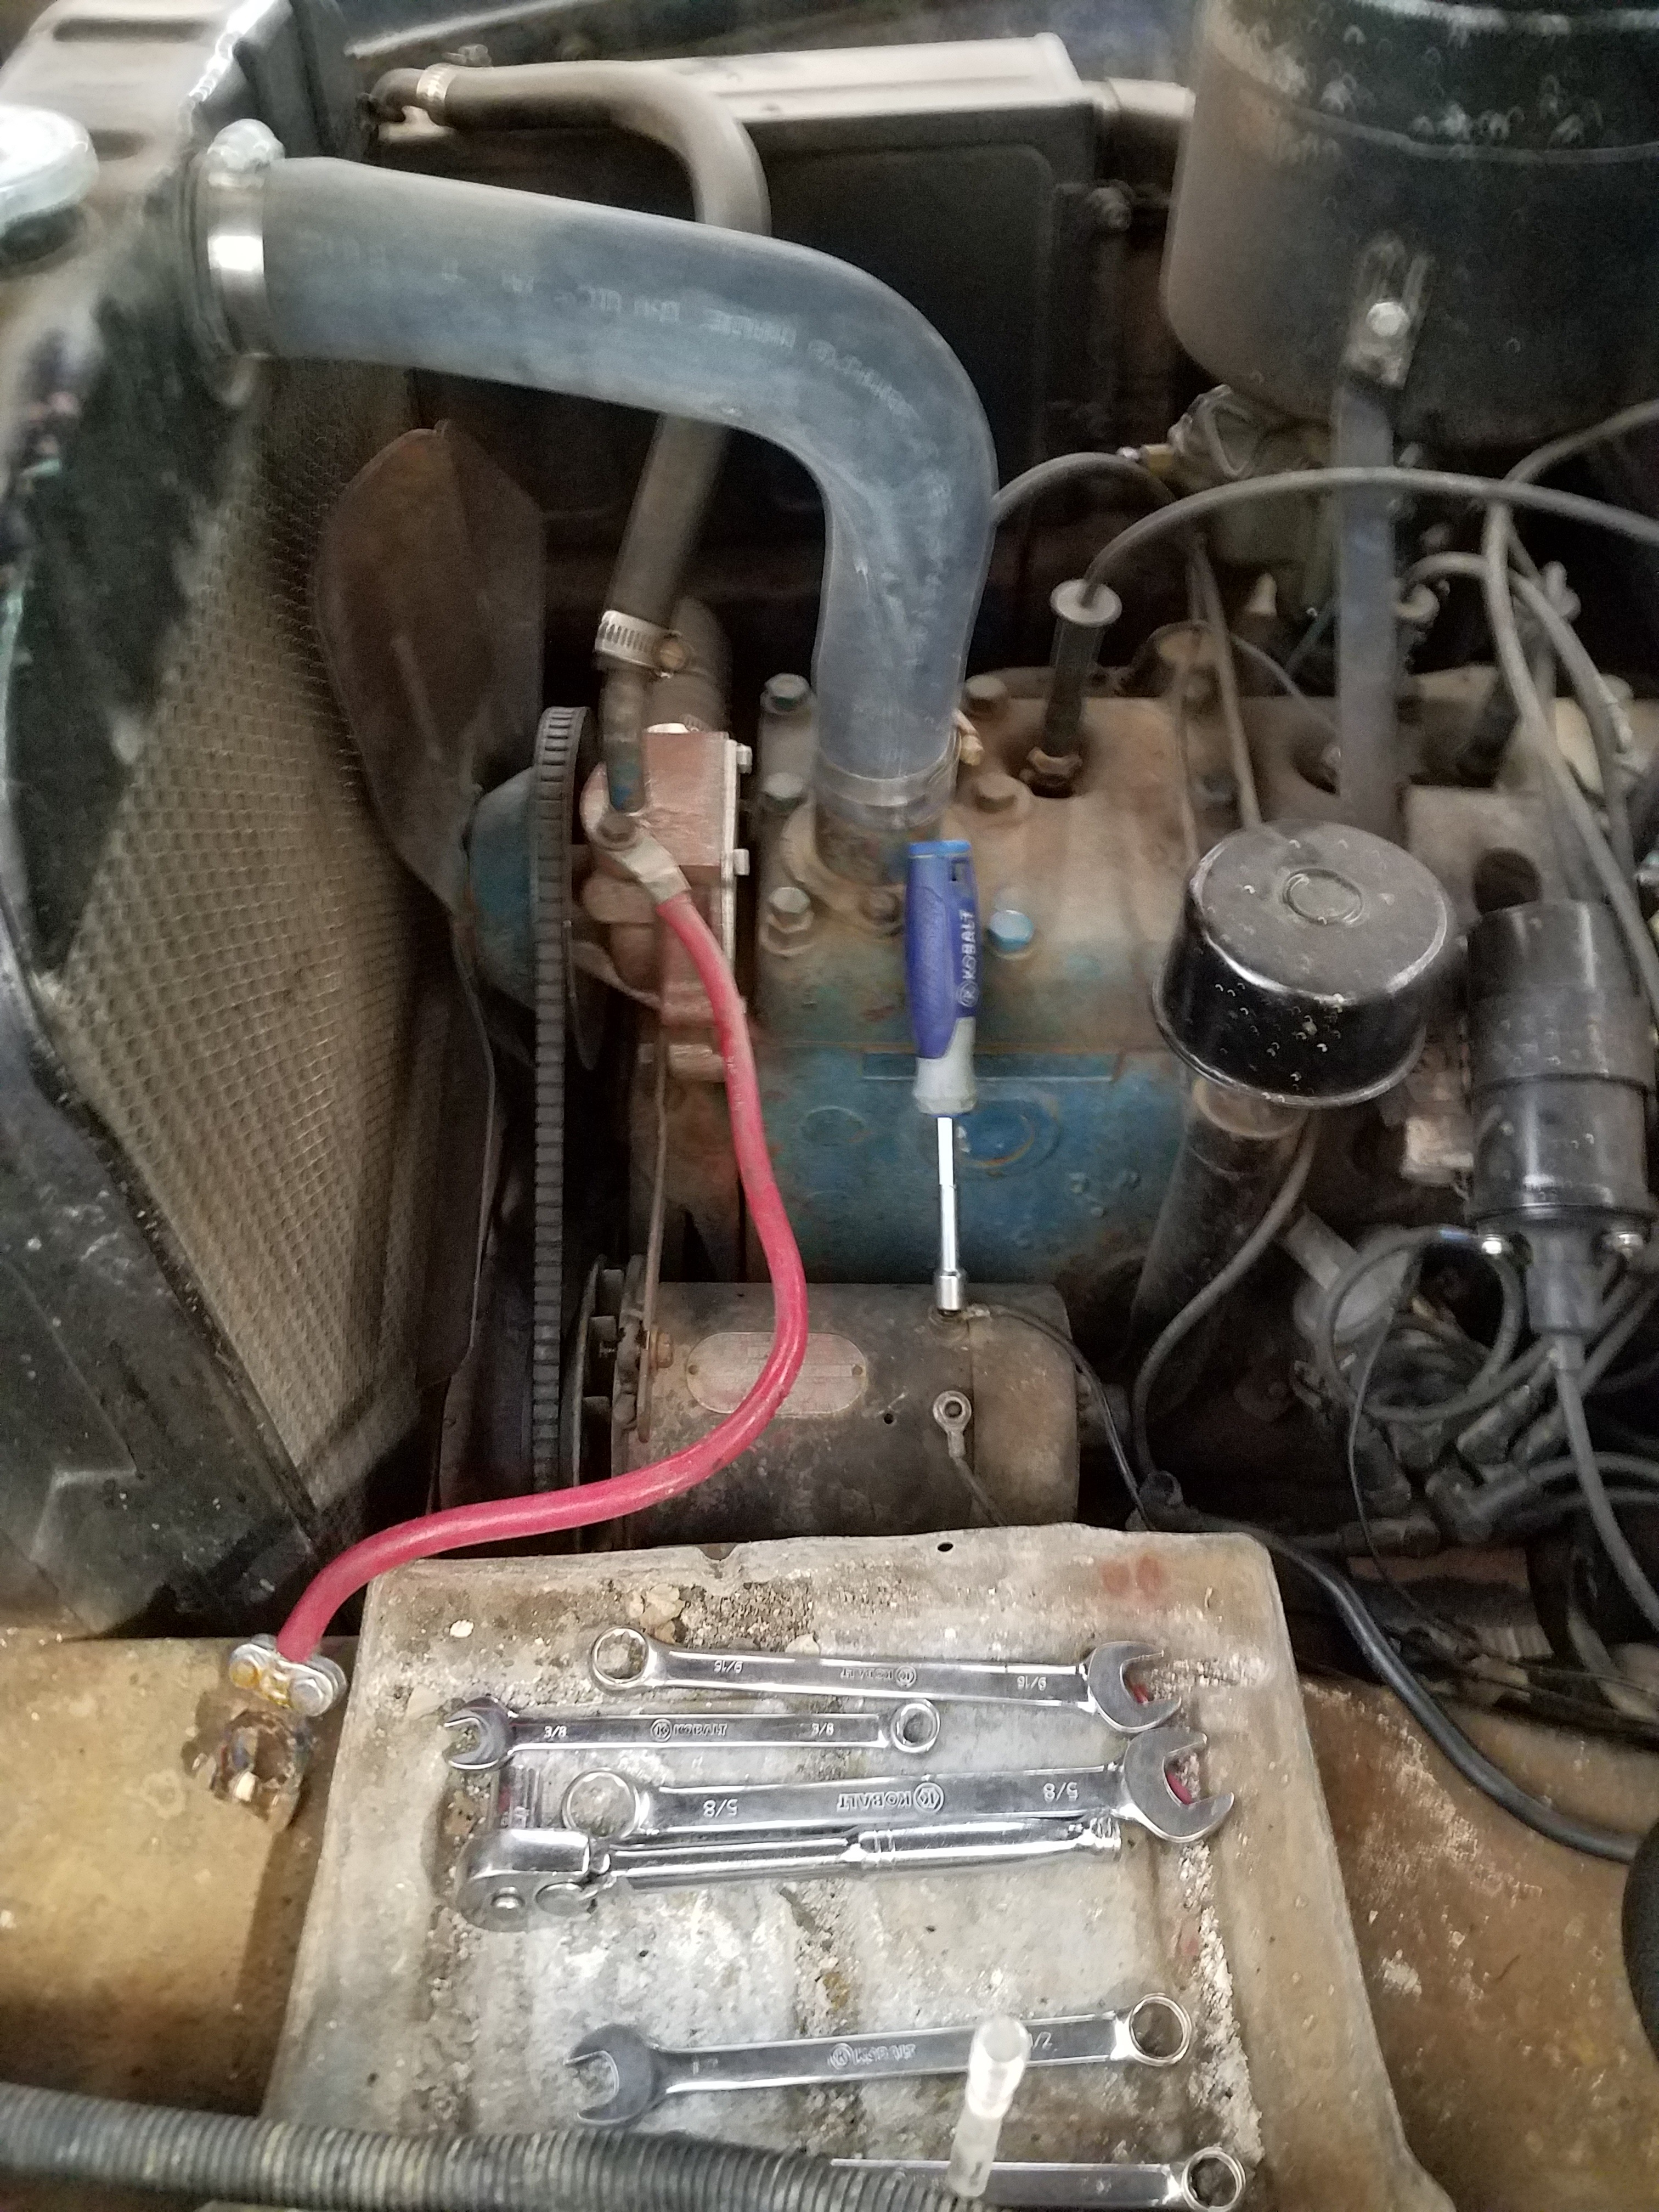
The wiring for the generator needs removed. These wires will be completely replaced in the course of converting over, for now just unbolt them. I put the hardware back on to protect threads, just in case. In this picture you can see the original top mounting arm as well as the pulley arraignment.
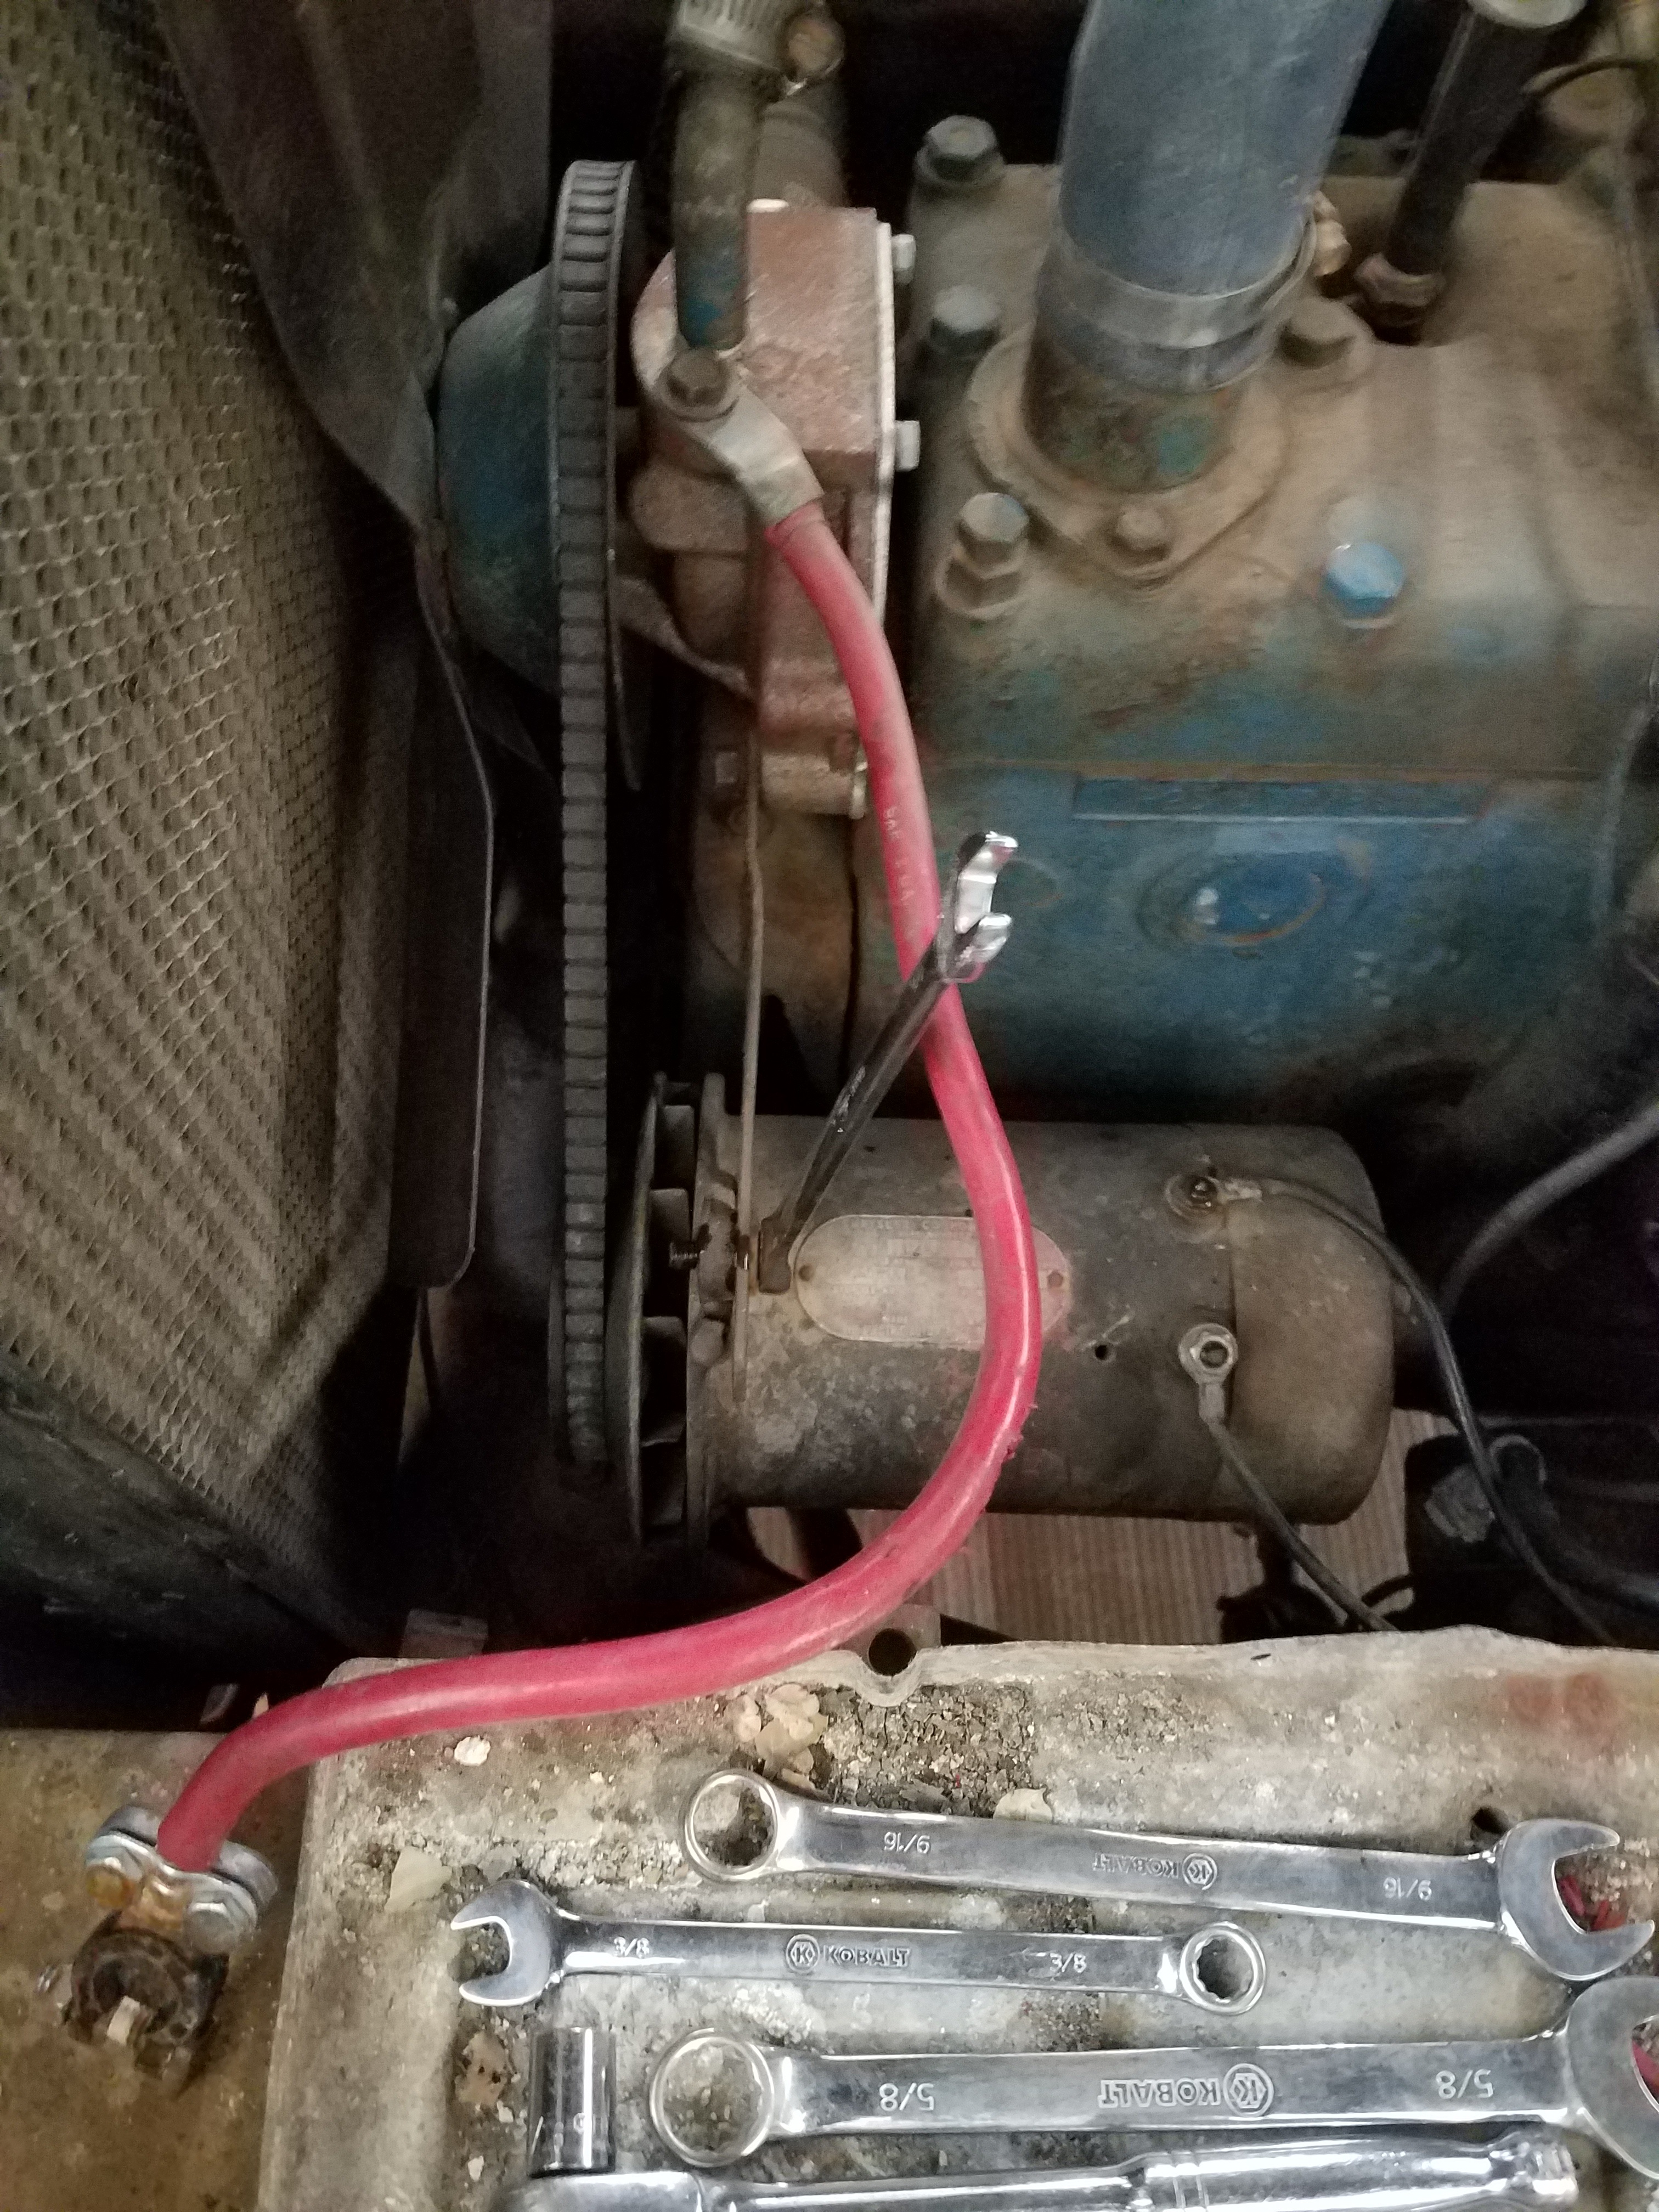
Here you see the upper mount bolt, that will be removed and recycled to the same place on the alternator. The arm is behind the mounting ear on the generator. When used on the alternator it will be on the face of the alternator.
This picture is a bit farther along in the process and you may wonder why the radiator, fan and water pump pulley are removed. The answer is simple, I had to remove the upper mounting arm from the water pump to space it out enough to fit the alternator, see next picture. I could not get the stock bolt out without removing the pulley and I couldn't get the fan off without removing the radiator. For being summer in west Texas that was a snowball I didn't see coming.
In this picture you can see the lower generator mount. We will use this as is for the alternator lower mount, in later pictures you will see how we did it.
Original setup, to be removed and replaced
Here you see the upper mount setup. I needed to space the upper mount forward approximately 3/4". To do that I needed a longer bolt going into the water pump housing, 3/4" longer to be exact. 3/8x16, 3.25" long. I used 3/8" flat washers as spacers. You might say it would be cleaner if I cut to length some sort of tubing for the spacer. Probably but this is the mockup and prototype stage and as it turned out I neeeded 2 more washers than my math told me I did. If I feel ambutuous I might cut a solid spacer. But I doubt it.
Here we see the lower mount, forward portion. The lower generator mount's forward ear is behind the alternator's lower ear and there are two 5/16" flat washers as spacers between the two. This is to closely align the belt. It works for now.
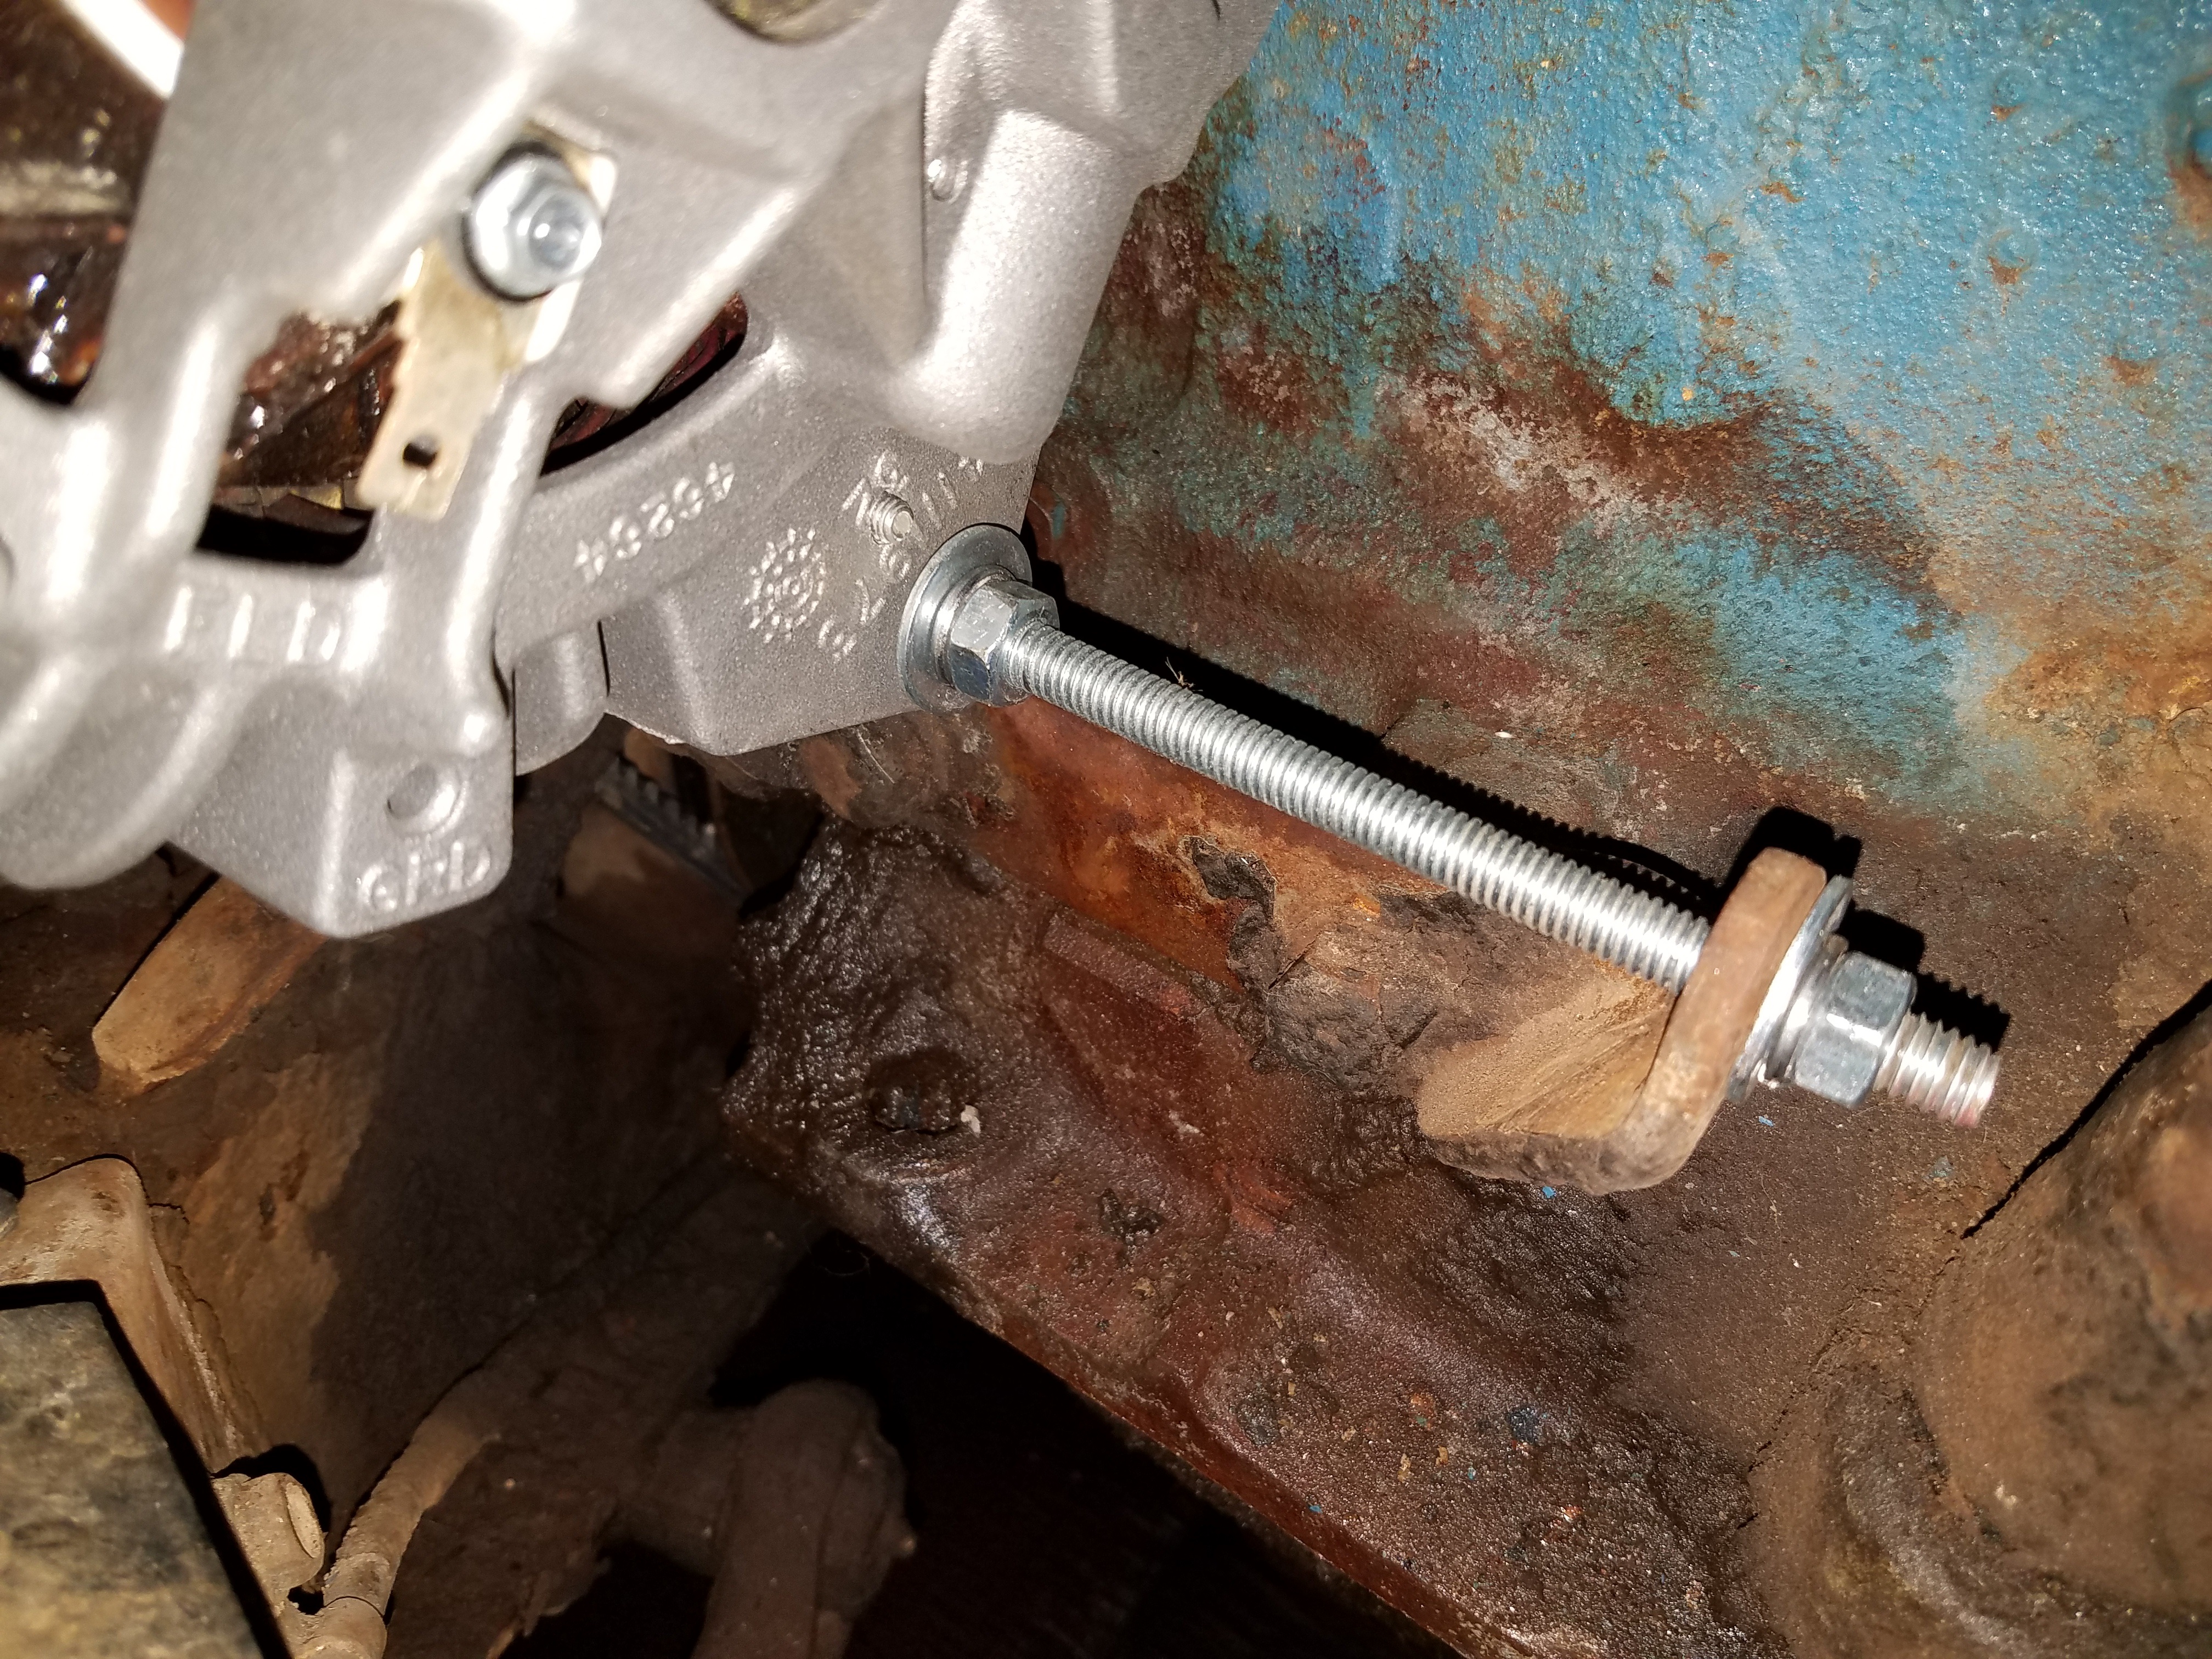
In this picture we see the rear portion of the lower mount setup. You can see the all thread used. There are two sets of nut, lockwasher and flat washers in this picture. The middle set is to mount the alternator to the all thread and the rear set is to mount the all thread to the lower generator bracket. It works. Ideally, one would make a new lower bracket to bolt to the block and fits the alternator ears more closely. Functionally and for my purposes it works as is.
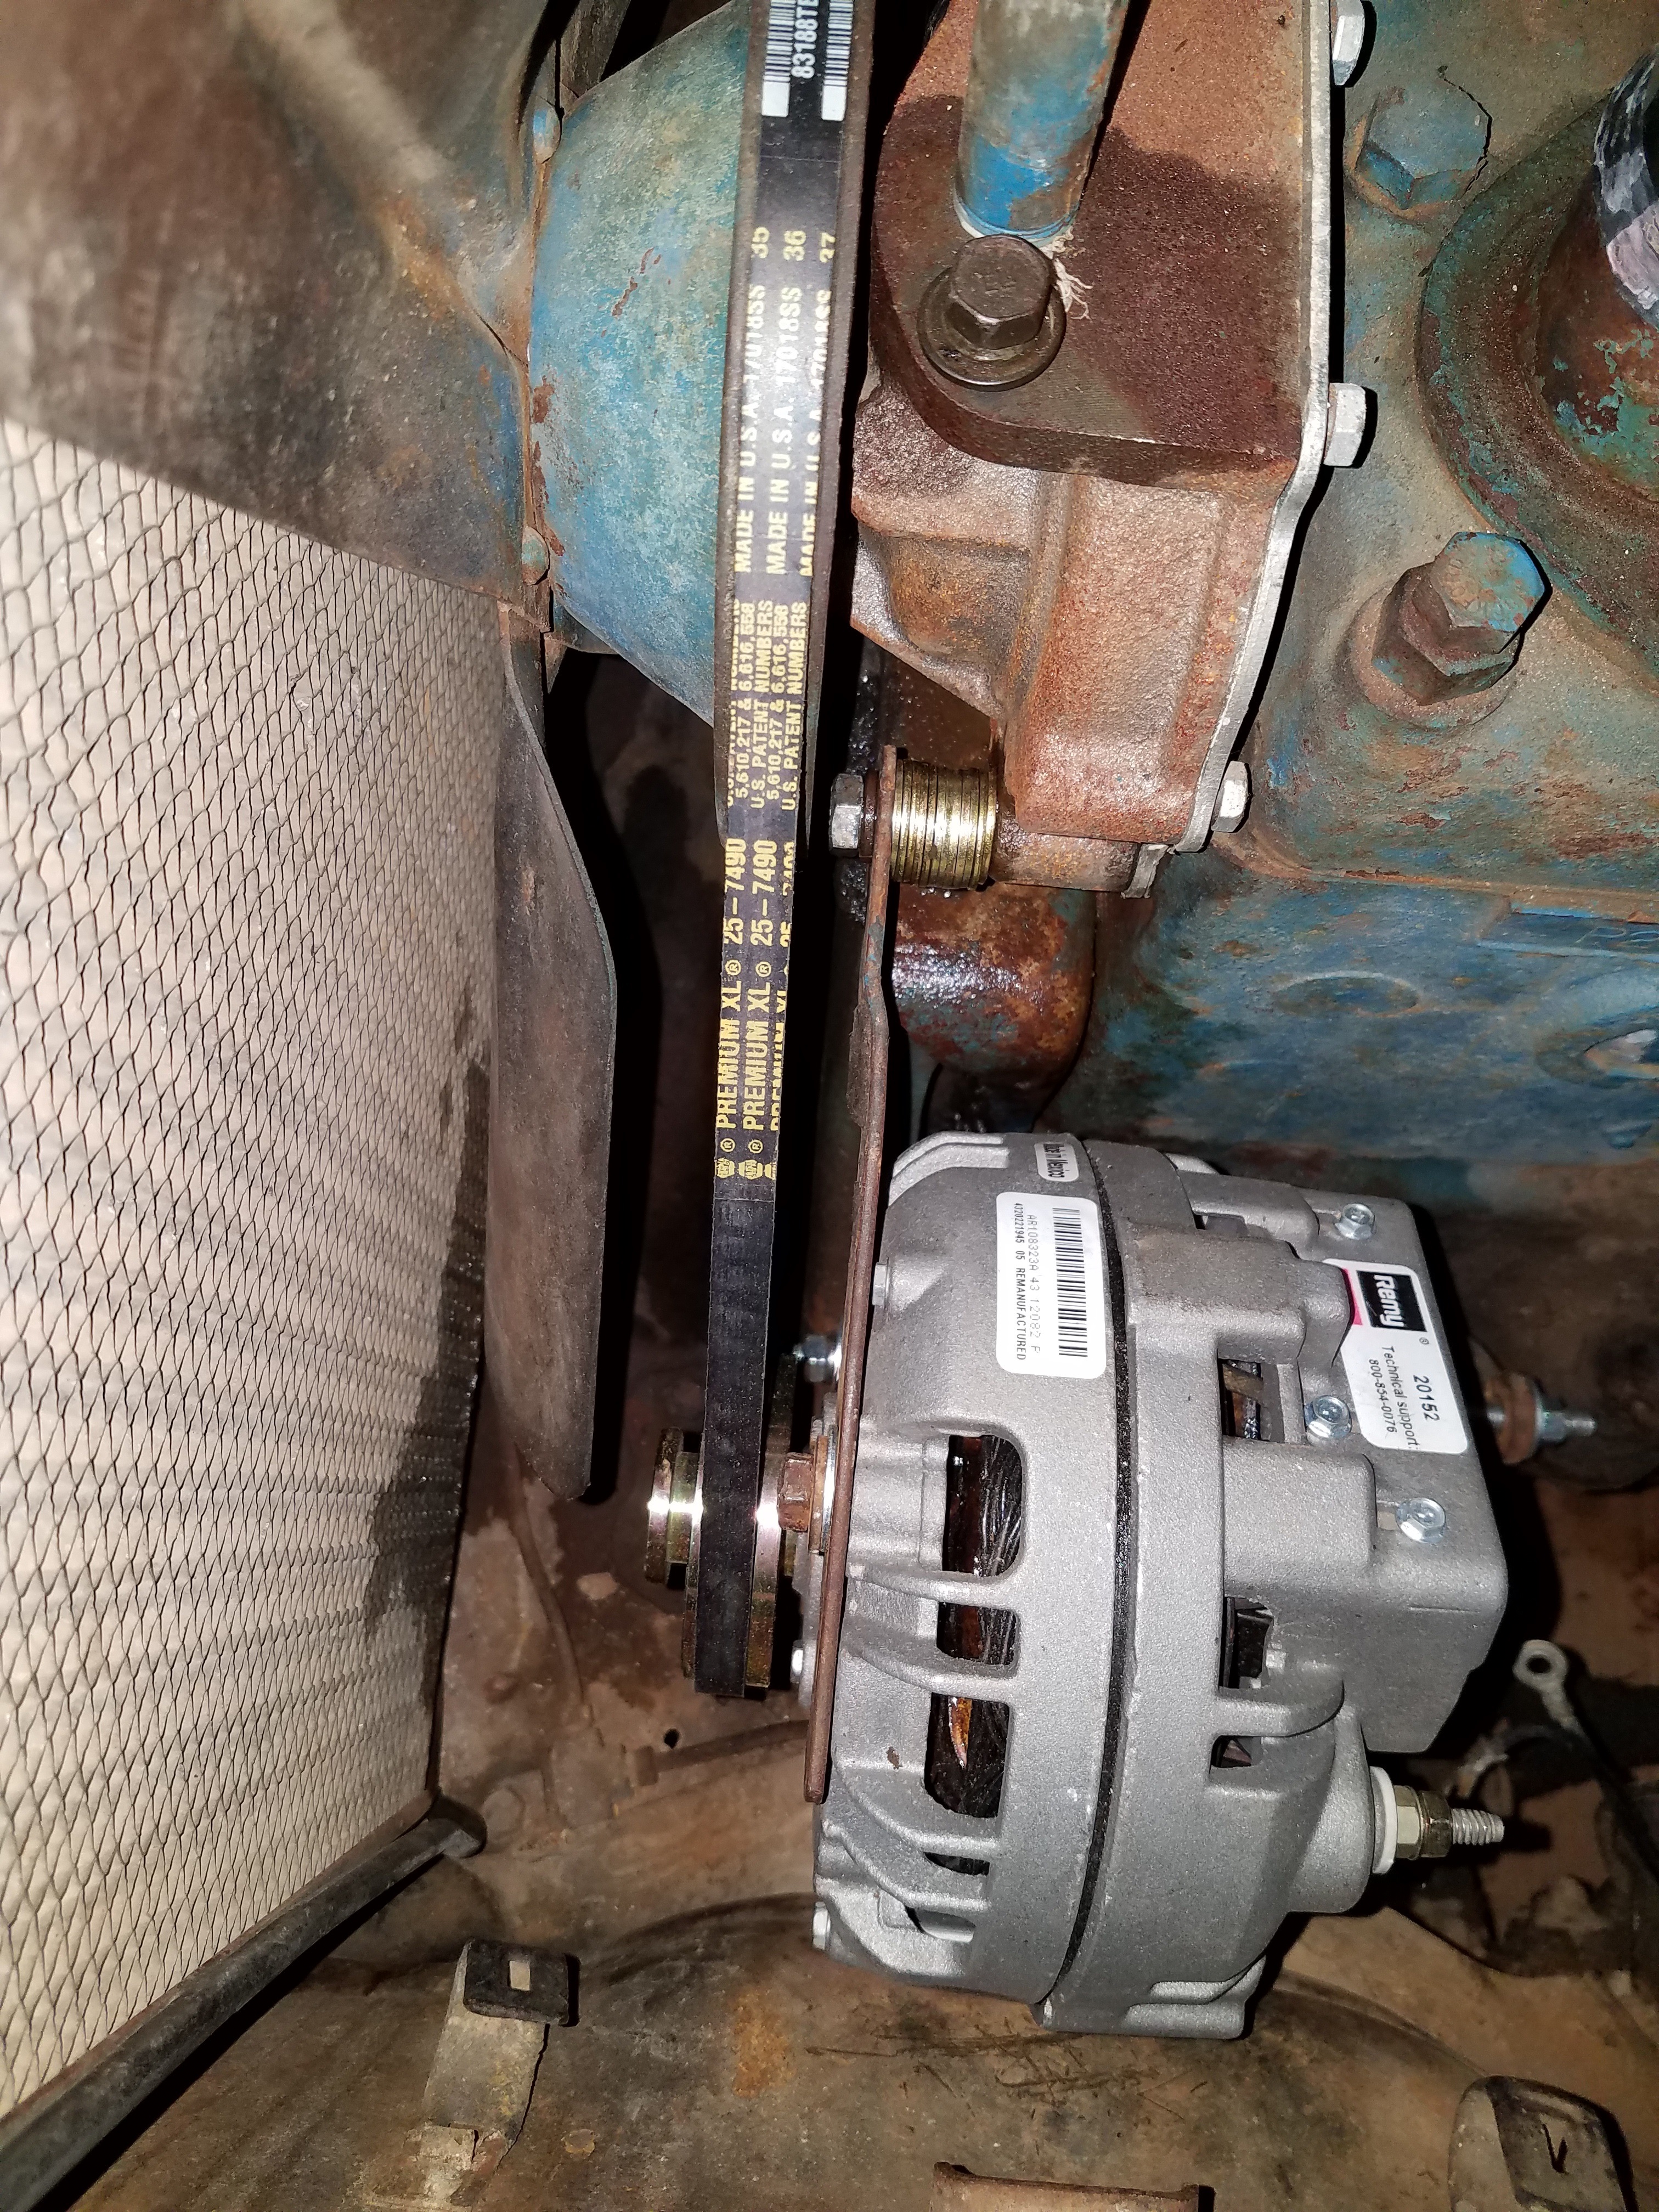
Here we see a shot looking down on the alternator showing belt alignemnt. New NAPA belt to replace old one, stock belt size fits just fine.
Completed alternator installation. New radiator and heater hoses and a new belt was installed. My local NAPA had them on the shelf.