| THE WIDE PICOT |
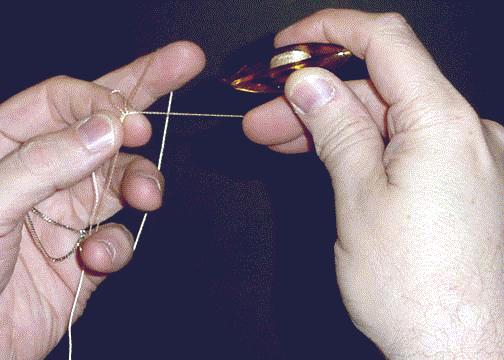 |
| 1. Begin the Wide Picot by making a standard tatted ring, here shown as
3 ds, a large picot and then 1 ds. |
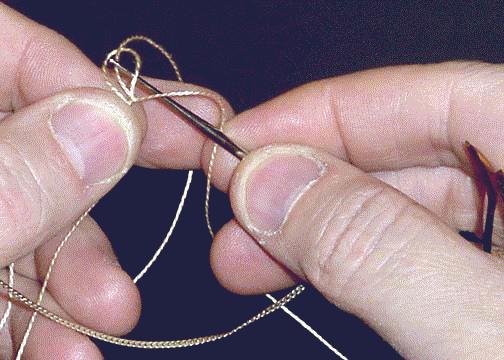 |
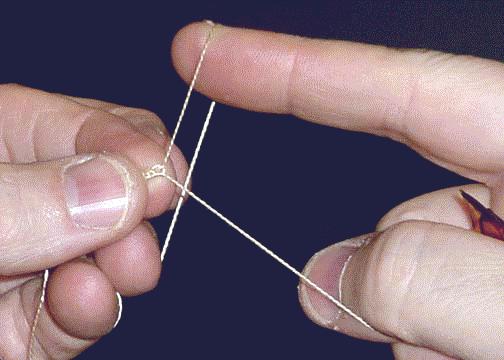
| 2. Put pick/hook through the ring from the front, through the back of
the large picot toward the front, and catch the working thread. |
 |
| 3. Pull loop through picot toward the back of the work. |
 |
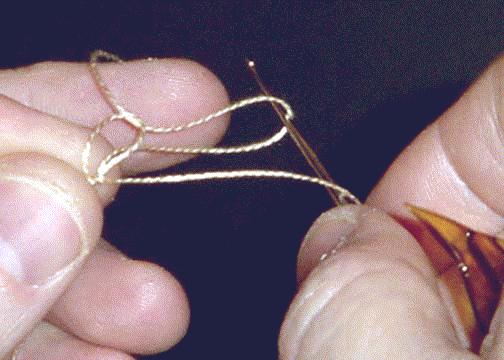
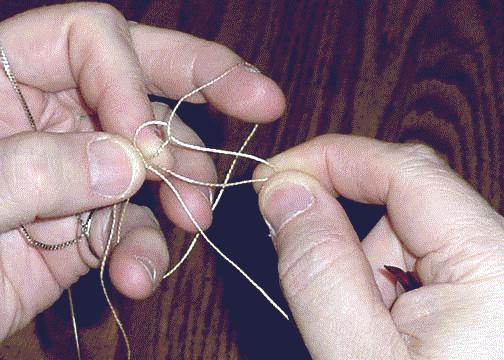
| 4. Withdraw the left-hand second and third fingers from the main ring
and insert into the top of the loop just pulled through the picot as shown.
Spread the second and third fingers (not shown) leaving a taut thread from
the pinched thumb and forefinger to the second finger. This is the thread
that will be used in the following step. |
 |
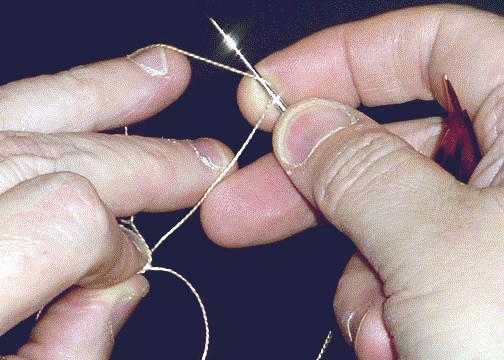
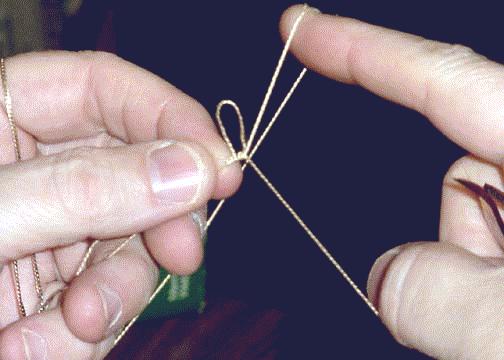
| 5. Hold the picot off to the left with the left-hand thumb and forefinger
and make (and transfer/flip) the first half of a ds with the shuttle around
the thread held taut in step #4 above. Withdraw the left-hand second and
third fingers and use the right-hand forefinger to settle the first-half
ds into place as shown. |
 |
| 6. Reinsert the left-hand second and third fingers back into their normal
position inside the rings working thread as shown (right hand is holding
the previously-made loop out for clarity). |
 |
| 7. Make the second half of the ds. Start another picot-spacing ds as in
step #2 and continue until the picot is as wide as desired - here 6 picot-spacing
ds's were used (including the first normal ds that made the long picot). |
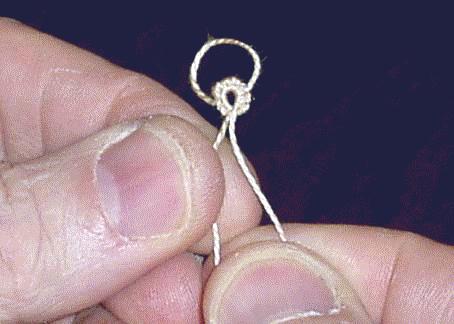 |
| 8. Make some finishing ds's (here 3 ds), close the ring and you have a
Wide Picot. |