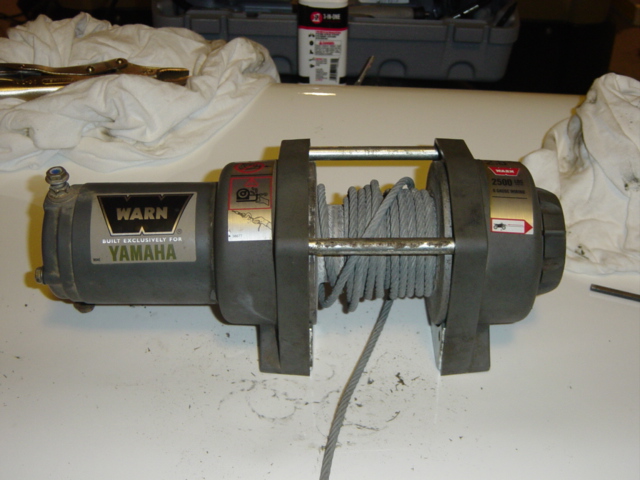
| WARN 2.5ci WINCH BREAKDOWN |
| Once you get the winch off the mounting plate, you can set it on a flat surface. You can either remove the cable from the drum, or find some way to secure it to the drum. If you leave it free like I did, you'll probably have to re-wind all the cable when you're finished as it has a tendency to spin off the drum while you're working. |

| On the motor end of the winch, there are two 3/8" bolt heads. If you need to separate the motor from the winch to service the motor, you can remove these two bolts. If you just want to get into the gears, there is no need to remove these, since you can disassemble the winch and leave the motor mounted. While you have the winch off, another good maintenance item is to use a steel brush to remove any corrosion from the electrical connections. |
| In order to split the winch into two pieces, you'll need to remove the two 3/16" allen head cap screws that go into the tie rods from the motor end of the winch. Once these are removed, you can lift the motor and gear assembly off of the drum. Watch for the clutch return spring on the end of the driveshaft so that it does get misplaced. |
| Starting with the motor end of the winch, you can remove the other two 3/16" allen head cap screws, which will release the cable protector and the drum support. Check the bushing in the drum support to make sure it is still in good condition. |
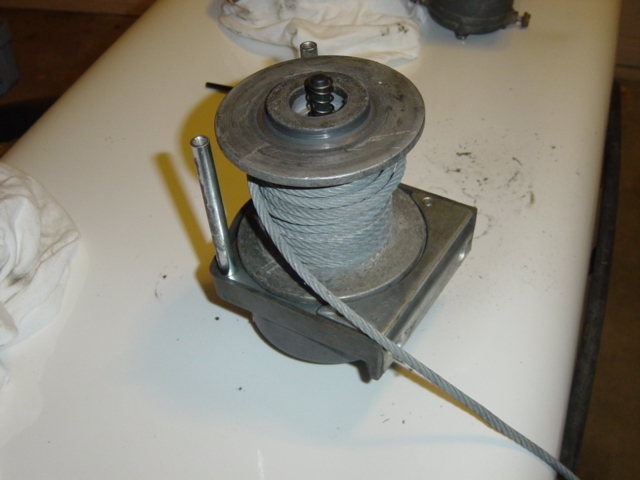
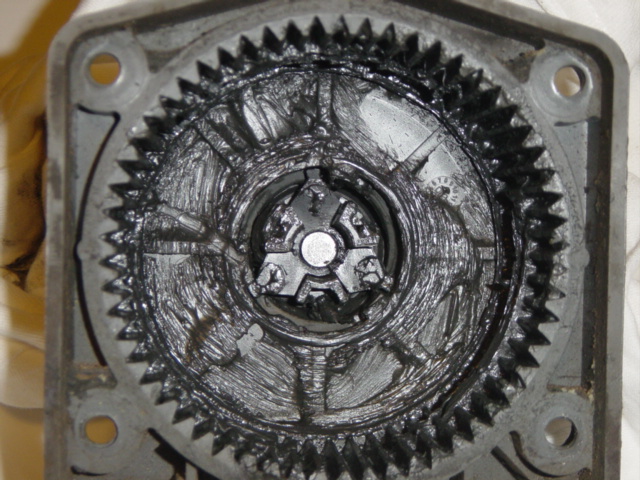
| Once the drum support is removed, you can see the Stage 1 Carrier Assembly. This assembly has a hexagonal center that the driveshaft engages on. To remove the assembly, lift it straight up out of the housing. Also, keep track of the two mounting nuts from the bottom of the winch. When the plate is removed, the nuts can easily fall out. |
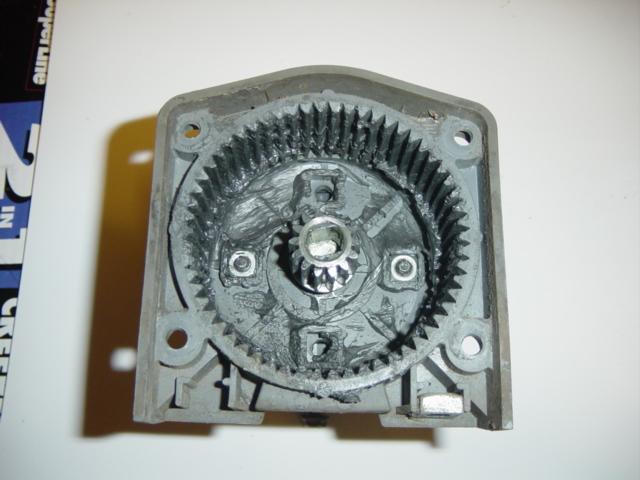
| After removing the carrier assembly, you can see the stage 1 sun gear on the output shaft of the motor. This gear may have also stayed inside of the carrier assembly when you lifted it out, so be sure to check the assembly if you don't see it on the output shaft. |
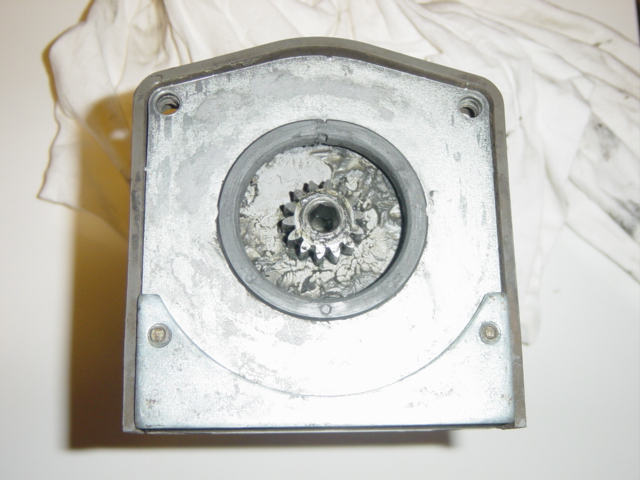
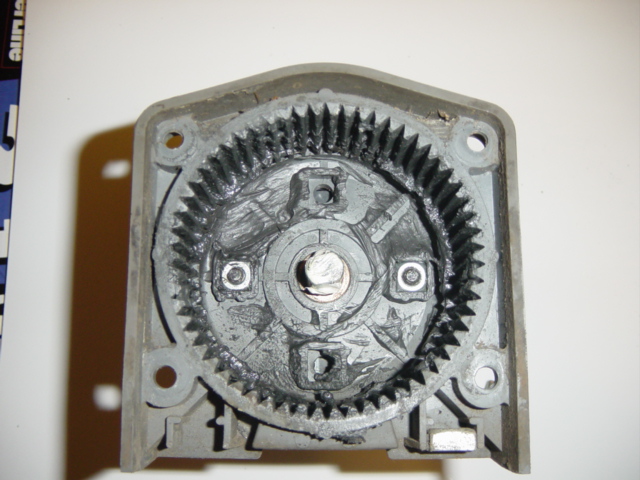
| Once you remove the sun gear, you can see the output shaft of the motor. There is a bushing installed from the motor side of the housing that keeps the shaft centered in the opening. Also, you can see the two nuts in the wells on each side of the shaft. These are where the bolts that hold the motor in place thread into. If you do remove the motor from the housing, it's easier to reassemble at this point since you can keep the nuts in their wells while starting the bolts. |
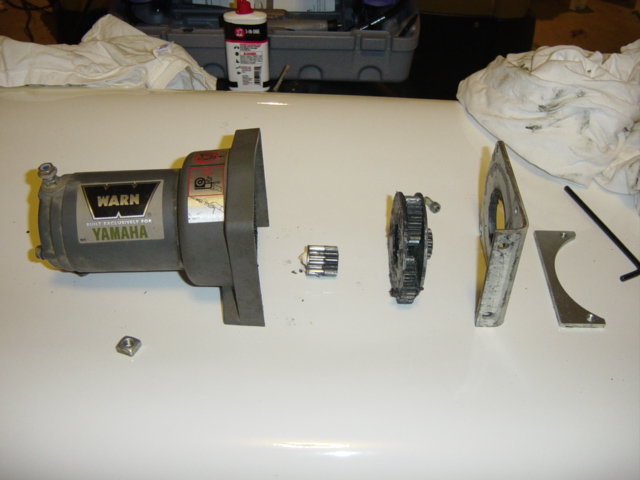
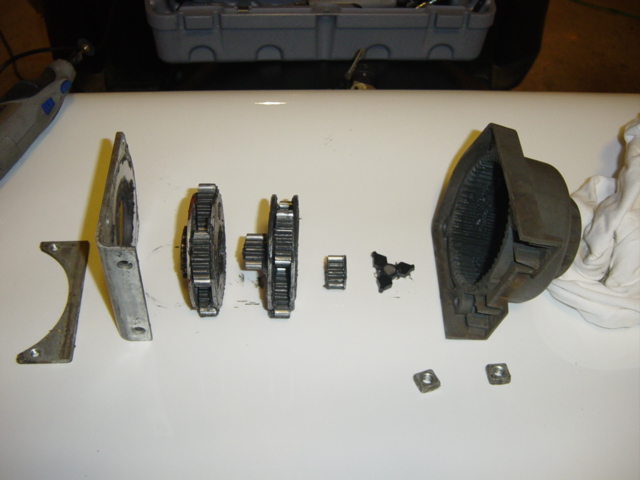
| Here is the exploded view of the parts from this side of the winch. |
| Now for the clutch side of the winch. Lift the cable drum off of the drive gear. The driveshaft can be removed before or after removing the cable drum as it doesn't touch the cable drum. Once again, inspect the bushing to make sure it is in good condition. |

| Remove the four cap screws from the end of the housing, two are securing the tie rods, two are securing the cable protector. Once the drum support is removed, you can see the stage 3 carrier assembly. To remove the assembly, lift it straight out of the housing. |
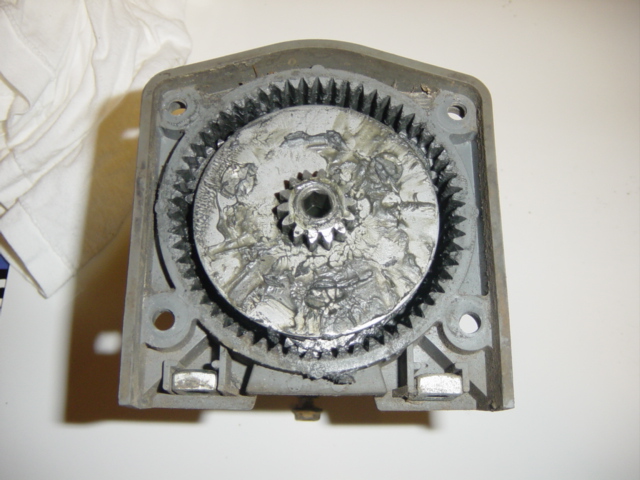
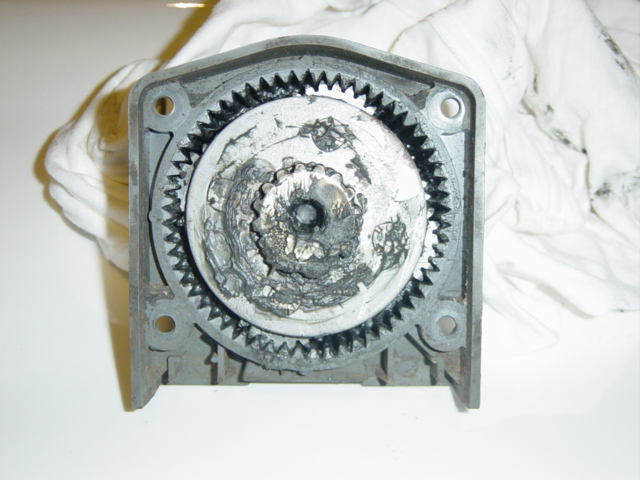
| After the stage 3 assembly is removed, you can see the stage 2 assembly. To remove this assembly, lift it straight up out of the housing. When you remove the assembly, the stage 2 sun gear will probably stay inside of the assembly. The sun gear has a hexagonal center that engages onto the driveshaft to get rotation from the motor when the clutch is engaged. |

| If the sun gear came out with the stage 2 assembly, then you will be able to see the cam follower at the bottom of the housing. The cam follower fits in between the legs from the cam on the end of the housing. As the cam is turned, the follower turns and rises/falls on the ramps in the end of the housing. When the follower rises, it pushes the hexagonal portion of the driveshaft clear of the stage 2 sun gear so that the drum can spin freely. |
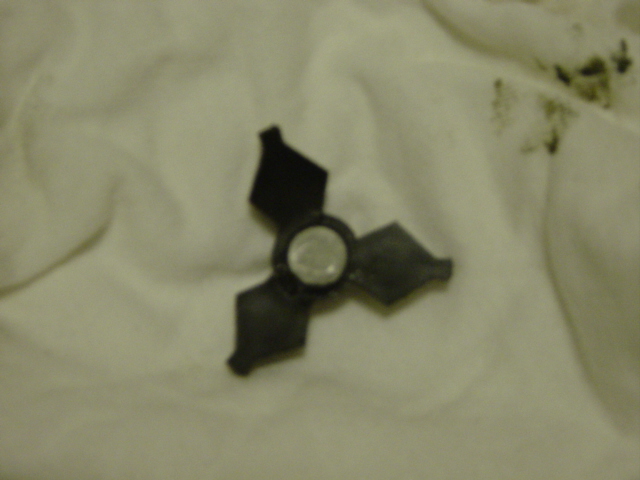
| A larger picture of the cam follower. The small ends of the three legs ride on the ramps in the end of the housing. The metal insert in the center presses against the driveshaft. The failure on my follower was the one of the legs broke off, probably from shifting the winch to free when there was tension on the cable drum. The OEM piece is made of plastic, the replacement part I am using is made of steel. |
| The exploded view of the clutch side of the winch. Here you can see the sun gear and it's placement among the gear assemblies. |
To reassemble the winch, you can just reverse the disassembly steps. But here are a couple of hints to make things
easier for you:
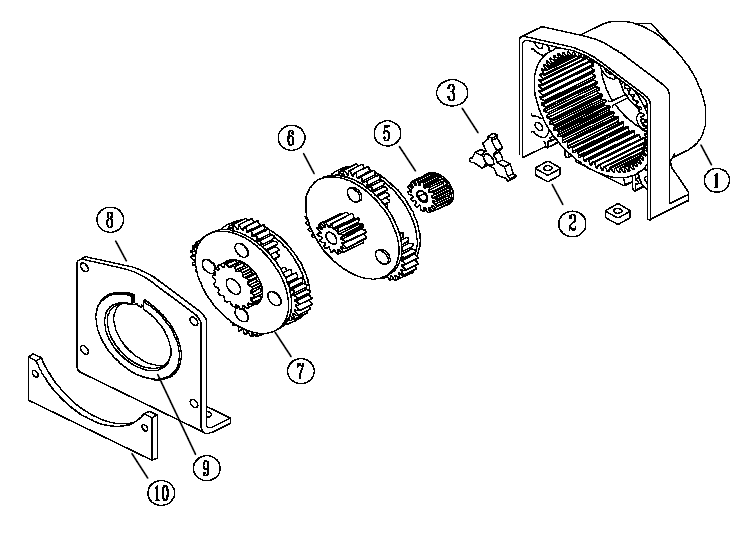
And if you want further reference of how everything goes together, here is a parts breakdown from the Warn
website. You can find an Adobe PDF file with the full parts list here.
easier for you:
- On the motor side, place the sun gear on the output shaft of the motor, then place the carrier assembly back
into the housing. This way you can more easily match up the shaft and center of the sun gear. - On clutch side, place the sun gear into the carrier assembly before putting the assembly back into the
housing. A little grease on the teeth of the sun gear will help hold it inside the assembly
And if you want further reference of how everything goes together, here is a parts breakdown from the Warn
website. You can find an Adobe PDF file with the full parts list here.

| <clicking on any image will bring up the larger version> |