 |
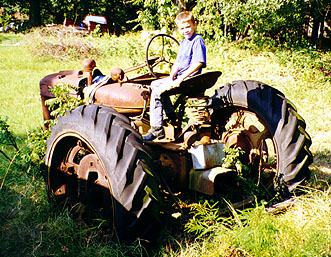
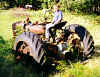
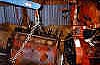
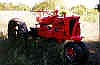
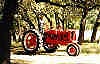
Here is the tractor as we found it in August 97, after having been stored in
the blue sky shed for many years. |
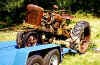 |
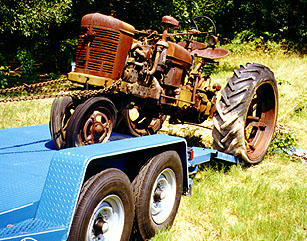
As we started pulling the tractor up the ramps. Note that it is starting to
slip off the ramp toward the downhill side - this is where the second come-along became
esssential! |
 |
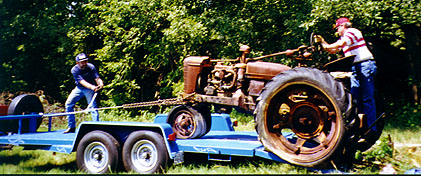
Here we are just before we hooked up the second come-along. Benny is on the
tractor steering, I'm the one cranking the come-along. |
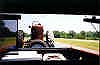 |
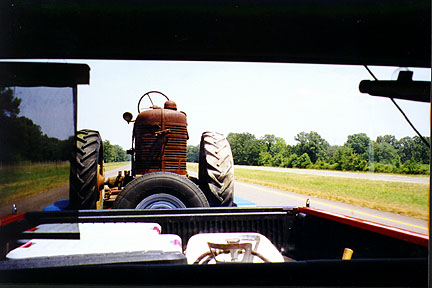
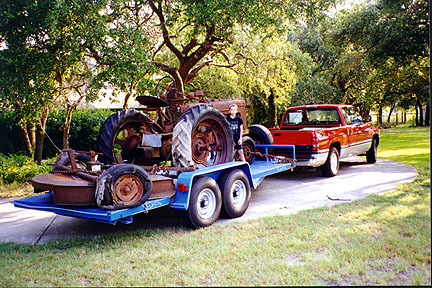
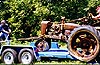
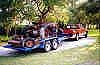
This is what a Farmall H looks like when it is going about 65 mph across
Central Texas! |
 |
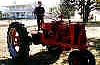
The next morning after arrival; this is where I left it parked in the driveway
the night before! |
 |
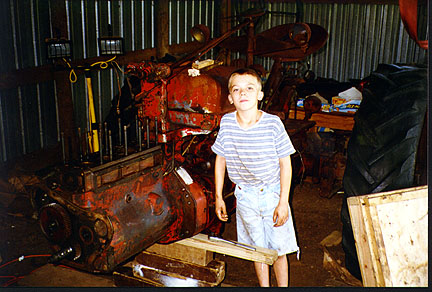
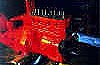
September 97. Here is the tractor after block removal. The oil in here is
probably the result of a bad rear main seal, although I guess it could have been thrown
off by the throw out bearing instead. Yuck. |
 |
That's my main mechanical helper, Cory |
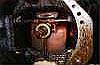 |
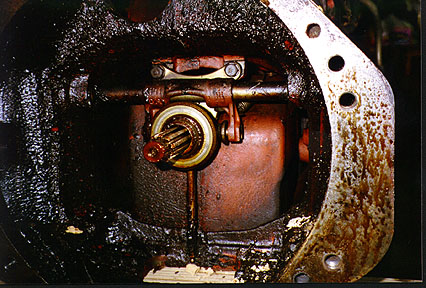
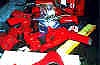
An enlargement of the clutch throw out bearing. We decided to go ahead and
replace it since it was easy to do that with the tractor split. |
 |
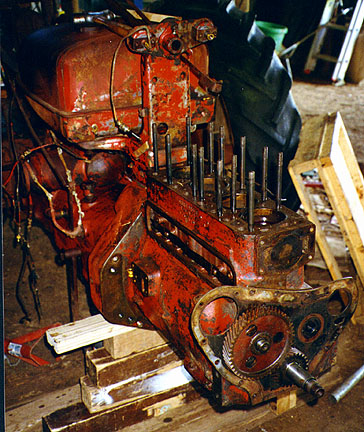
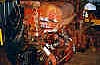
These photos are of the tractor with the front end, head, fan, and pretty much
everything else removed, but with the block still in place. |
 |
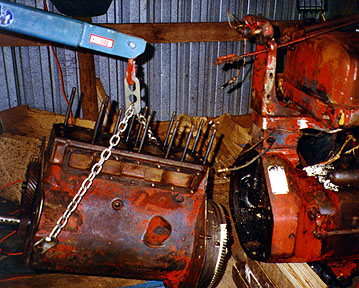
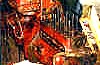
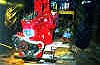
And here is the block being pulled off with the cherry picker. That white stuff
on the ring gear on the flywheel is the remains of several dirt dauber nests, apparently
they got in via the open grease cover on the clutch |
 |
As of late October 97, the engine was mostly reassembled, and most engine parts
are prepared for reassembly. The block has been reinstalled. |
 |
Here is the block viewed from the other side. |
 |
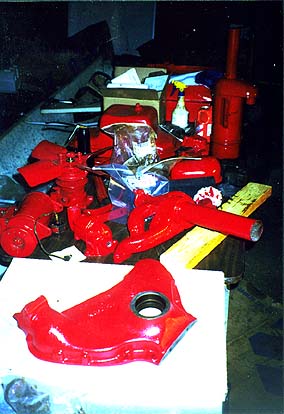
And here are most of the remaining parts waiting to be put back on (all
cleaned, repaired, and painted). |
 |
In late November 97, we finally got the tractor running. We couldn't make it
with the 6Vstarter, so towed the tractor out of the barn with my pickup, and my wife Laura
pulled us around the barn until it started. Once it started, it runs very well. |
 |
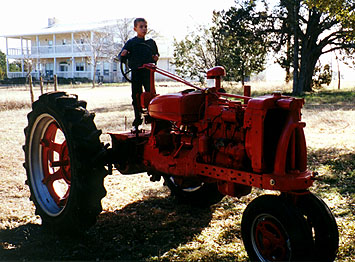
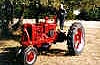
These pictures are of the tractor outside the barn; it made it to this place
under its own power! We put the starter back on after these photos, it started and made it
back into the barn for further work |
 |
New front tires from Mickan in Walburg, still on the flat original rear tires
though. Note temporarily missing starter and battery! |
 |
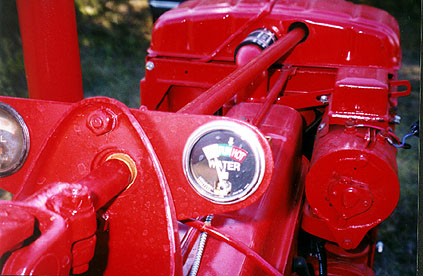
Notice the newly installed replacement water temp gauge from Antique Gauges,
Inc. It looks good and appears to work well. The original oil pressure gauge is intact and
seems to work well enough to use. |
 |
Over Christmas break I prepared and painted the rear rims so we could pick up
the new tires. I got 11.2x38 (the correct original size, although when I got it there were
12.4x38s mounted) tires with 45 degree lugs from Mickan Motors up in Walburg, Texas.
|
 |
The lugs have a slight arc so they don't look exactly like the old ones, but it
is pretty close, and they sure look good to me |
 |
The right brake is still off, as is the seat, so we go real slow, in what my
Grandfather used to call "granny low". It turns out to be pretty hard to operate
both the brake and the clutch when there's no place to sit down. |
 |
By the end of February essentially all of the mechanical work was done. There
are a couple of minor oil drips that need to be dealt with, but they aren't urgent. |
 |
I started to apply decals, but had problems due to either insufficiently dry
paint or poor primer adhesion. After these photos were taken, I sanded and repainted the
hood. Should be ready to try decals again by mid March. |
 |
At this point the Farmall emblem for the front had not yet arrived. I have
installed the belt pulley I got in Smithville, but it needs a bit of repair work before it
could really be used - a couple of the rivets are loose.. |
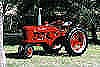 |
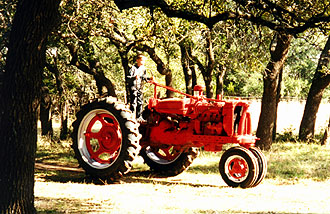
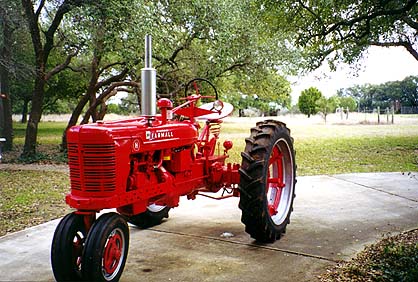
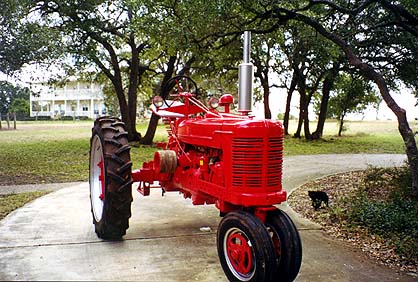
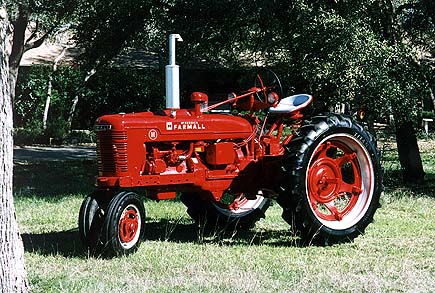
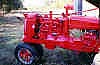
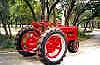
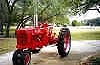
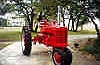
March 1998: It is time to declare victory! The remaining items are so minor
that it wouldn't matter much if I never dealt with them. More photos of the finished
H are here. |