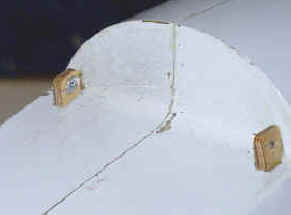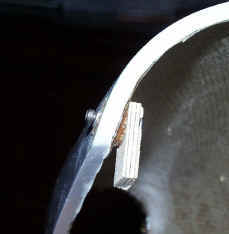
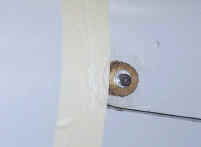
First, cut a post and install a piece of dowel in the chin cowl. I make the post out of 5 ply plywood. Hold the two pieces together and drill a hole for the 440 screw. Insert a blind nut in the post and temporarily screw the two pieces together (the 440 screw will be countersunk in the finished product and yes, it should have been countersunk first). Use the mated pieces to mark and cut a hole in the fuse. Make the hole large enough to allow some adjustment but not so large as to require a lot of glue.
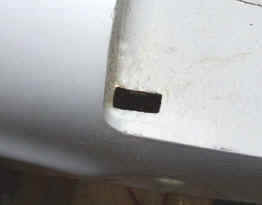
Mark and cut a hole in the fuse
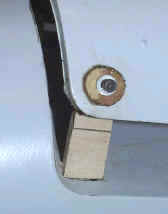
Slide the post on the chin cowl into the hole and use masking tape to hold the cowl in place. Use a lot of masking tape to insure a good fit. Remember, the finished product is only as good as the fit here, so make it right.
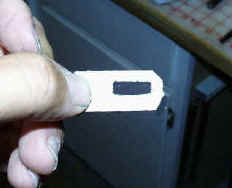
The Collar
Make a collar out of light ply that fits the post. Through the canopy opening slide the collar over the post and epoxy in place. Once the epoxy is dry cut off the excess post material and re-glue. Simple, quick and a perfect fit every time!
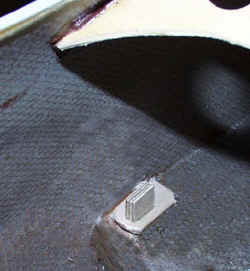
View from inside the fuse. Cut
off the excess post material (I use a Zona saw)
The finished Product
View of the 2 rear post
that hold the chin cowl.
Blind nut visible on left post.
